Saturday 31 March 2012

Cards of the week with Easter in mind

I've been let loose in Japonica again this week. These are the cards that I produced during my demo on Thursday morning.
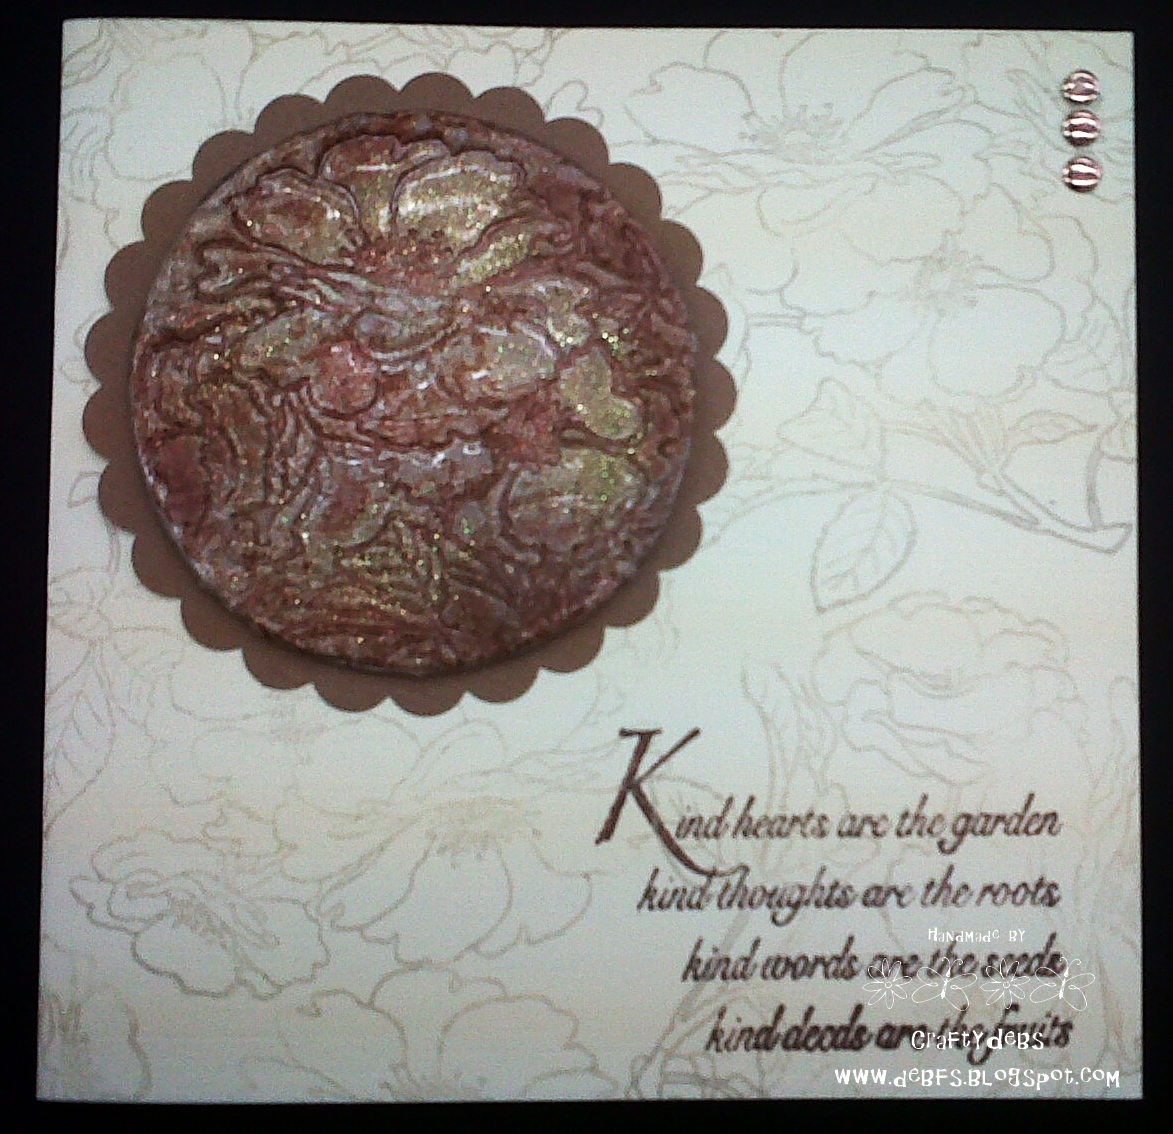
I have used the Stampendous "Paisley Spring" clear set for this card with Sakura stardust pens & papers from Wild Rose Studio.

I have used Jane Gills "Daffodils" set of stamps for this one. Simply stamped with Versafine Onyx Black & clear embossing power on cream vellum. I have used Tombow pens to colour on the back of the design for a more muted effect & the little "Happy Easter" message is borrowed from "Paisley Spring"
For the final 2 designs I have used this beautiful cross from Wild Rose Studio. Again using black printing & clear embossing  for the above card with a little colour added from Tombows & some sponging around the edges of the stamped piece.

For my last card I have embossed using Stampendous Detail Gold powder & good old Tombows again. I have used a white pearl card blank & added a few pearls embellishments.
This is a versatile little stamp which could be used for christening, confirmation, sympathy to name but a few.

Thanks for taking the time to look. I will be demonstrating again this week featuring peel offs & using a variety of techniques.   

Tuesday 27 March 2012

Pull Out the Punches

Shopping list
Woodware Clear Magic stamps JGCL555
Hours fly By
Stampendous set SSC196 Silhouette Songbirds
Punches
Leone Em Stamens & Maidenhead Fern
 1.5" Fern
 1" Oakleaf & Kikyou 
3" circle
3.5" scalloped circle
Regular Daisy
Mini snowflake
Bremen scrapbook papers
Magenta Victorian Beauty paper
Versafine Vintage Sepia & Onyx Black inkpads
Turqoise Metals
Small s/a pearls
Aqua & ivory organza ribbon 
DEET (double ended embossing tool)
Shapemate
Beige chalk inkpad
All available from:-
Quite a list this week & I really got carried away with the punches! I haven't had a play with them for ages! I've tried to create an elelgance to my card this week & I think you'll agree it's quite different. I've sponged an antique white linen A4 folded card blank with a beige inkpad & then randomly stamped some birds & flourishes from the delightful "Silhouette Songbirds" set from Stampendous using the Vintage Sepia inkpad. I have then stamped one of the 4 lovely sentiments from Jane Gill's brand new Clear Magic set of stamps onto a 3" punched circle. This has then been layered onto a 3.5" scaloped punched circle.I have created my 3 main flowers from the oakleaf punch (using Victorian Beauty paper)  by using the daisy punch as a base (this you can't see as it's at the back of the flower). I have attached an oakleaf to each of the daisy petals first scoring each leaf with a DEET & soft embossing pad. I have then added an inner layer of leaves to my flower before finishing each with 2 punched stamens & a turqoise Metal. I have also gently sponged the edges of each flower with the beige inkpad. The smaller flowers are from the Kikyou punch with the Mini snowflake as the centre finished off with a small pearl. The Maidenhair Fern & Fern punches provide the foliage. I hope you like my pretty card! 

Saturday 24 March 2012

Cards of the week

Here are a few more cards that I have made this week that you may like to share.


This was Mum's Mother's Day card which I'm sure she won't mind me sharing with you being the proud Mum that she is! I'll be using this gorgeous new Jumbo cling stamp from Stampendous in a few weeks time so watch this space!


This card was made for my uncle who is in hospital at the moment- get well soon Allan!!xx It features a piece of the gorgeous "Masterboard" that I learned how to do in a workshop with my friend and colleague Julia Budd and will be featuring in more depth in the weeks to come on my blog. The peel offs are from Magenta.


Finally we have the card I have made for a certain boss on his birthday next week so I hope he doesn't have a sneeky peek! Happy Birthday Ed hope you And Jan have a great relaxing break for a few days. I used one of Jane Gill's new Singles stamps a sample of  which you can also see in the new Woodware ideas book also made by yours truly. Have a look on the Woodware Gallery for ideas too.

I will be demonstrating again this week at Japonica on Thursday morning (29th) and I will be featuring Easter cards and using the Stampendous "Paisley Spring" set of clear stamps using a variety of techniques, so come along and have a look at me!!

Hope you're all working on your entry for the first  Woodware Sketch Challenge which kicks off on April 1st. See you soon!

Wednesday 21 March 2012

The Colours of Spring

Shopping List
Artemio clear set Silhouette Foliage
Stampendous cling CRM015 Birthday Wish
Chalk inkpads
Stampendous Detail Clear embossing powder
Versamark inkpad
Daydream Ensemble 8"x8" paper pad 
All available from:-

I've quite a simple card for you this week & for the observant & those blessed with a better memory than me, you will notice that I have used the very same set of stamps that I used for the theme "Colours of Autumn" way back in September. This is a lovely versatile set of stamps which i think has a lot more milage in it yet so watch this space!
I have used an A4 cream linen gatefold card blank & I have layered the inner back panel of the card with a piece of contrasting spring green paper from the Daydream pad. For the main design panel for the front of the card I have used direct to paper technique & applied shades of lime,soft orange,lemon & a hint of sky blue using the chalk inkpads. Next I have randomly stamped flowers from the Artemio set using the chalk inkpads. I have then stamped the birthday greeting using a darker green pad & then covered the entire piece with sticky ink from the  Versamark pad. Cover the whole area with the clear embossing powder  before heating with a heat tool. This gives a superb glossy finish to the image & enriches the colours. Layer this piece onto spring green, lime green & orange. These colours come from the reverse of the patterned sides of the Daydream papers- some gorgeous colours.
To finish the card randomly stamp some flowers using the chalk inkpads again along both sides of the card blank. The softer effect provide a pretty contrast to the deeper colours of the main panel. 

Here's a view of the inside of the card.


Friday 16 March 2012

Demo at Japonica

I was demonstrating yesterday at Japonica in Exmouth using enamelling and intaglio techniques and featuring Jane Gill's brand new set of stamps "Kind Heart".Here are some of the designs I produced.


I also incorporated some of the fabulous new "Frantage" products and techniques brought to use from Stampendous.
All available from http://www.woodware.co.uk/

Thursday 15 March 2012

Good Luck

Shopping List
Stampendous SSC191 Thanks Mom
Stampendous CRM222 Cling Confident Graduation
Stampendous Detail Clear embossing powder
Brilliance Mediterranean Blue
Sakura Stardust pens
Large corner rounder punch
All available from:-
Our theme this week is "Good Luck" & I think that the wording on this cling stamp from Stampendous says it all. I have stamped with the blue Brilliance inkpad & embossed with clear powder. The flower corners come from the "Thanks Mom" set which has some great flowers & flourishes as well as some fitting sentiements which will cover a variety of occasions not just Mother's Day. I have coloured the flowers using the Stardust pens & sponged the edges of the card blank with blue ink. You will notice that I have given the card blank a very rounded look by use of the large corner rounder which is repeated on the layering. I have randomly stamped a single flower aroung the edges of the card & a group of tiny flowers around the edge of the sentiment. Good Luck!!


Friday 9 March 2012

White Rabbits!

Shopping List
Magenta Tulip Bunny C40.226J
Daydream Ensemble 8"x8" paper pad
Daisy ribbon
Dragonfly brads
Stampendous peel off 90721 Spring Wishes
Versafine Onyx Black inkpad
Crafty Edger + Floral Lace cassette
Coloured pencils
All available from:-

Here we are with this month's sketch challenge- where does the time go? I've chosen a spring theme again this week. I don't know about you but I can't wait for the lighter nights & longer days & to get out in the garden again! I've chosen the cute Magenta stamp"Tulip Bunny" simply stamped onto linen card using the Versafine inkpad & softly coloured with pencils. I like to stamp onto linen card for some designs as it gives you the lovely canvas like texture.I have layered onto lilac & spring green card for both the stamped image & the peel off greeting panel. I have used some more of the pretty papers from the Daydream Ensemble pad for the background & created a border across the centre with our good friend the Crafty Edger with it's Floral Lace cassette. I have also used some pretty daisy ribbon & dragonfly brads at each corner to finish the design. Happy Spring!

Here's the original sketch why not play along?


Saturday 3 March 2012

Look What I did With My Frantage!

Shopping List
Shabby White embossing powder
FRG10C Shaved Ice
FRM05 Bronzed Mica flakes
FRM04 Tea Stained Mica flakes
FRG01C Silver Glass glitter
FRG02C Champagne Glass glitter
Artquest Mica colour palettes Stargazer & Interference
Stampendous clear stamps SSC196 Silhouette Songbirds
2" Woodware Maple punch
1" Woodware Oak Leaf punch
Versafine Onyx Black
Metal Quilting sheet in gold & copper
Craft wire
Craft glue
Heat gun
All available from:-
I've had such a good time creating my project this week & using some of the great products from the Stampendous "Frantage" range. This includes gorgeous embosssing powders, Mica flakes & chunky glitters & as you can see I've really gone to town with them. I wanted to do something different this week so I've chosen to use a MDF mirror to decorate. I started by removing the mirror itself & giving the frame a thin coating of gold & bronze from the Artquest palettes. I then took some pieces of rust & brown card & randomly sploged them (that's a technical term!!) with golds, bronze & black also from the palettes. When the frame was thoroughly dry (I left it over night) I randomly stamped the songbirds &  florishes using the Stampendous set. Next I punched some maple leaves from the brown & rust pieces & scored viens in them using a DEET (double ended etching tool). Then came the fun part! I applied craft glue to various parts of each leaf & added Mica flakes & glitter. I then created the swathe of texture, glitter & mica flakes in the bottom right hand corner of the mirror by simply applying a layer of Shabby White embossing powder & adding all the other textures randomly to it. I then heated the whole area from underneath until the embossing powder melted to hold the other elements in place. Finally the leaves were arranged down the left hand side of the mirror & you will notice that I have added some coiled craft wire which I have dipped in craft glue & frosted with glitter. The only thing left to do then was to reasemble the mirror & I'm pretty pleased with the effect!!