Friday, 23 December 2016

Thank You


With the festive season upon us once more we shall all have a reason to say "Thank you" to our nearest & dearest soon. It was quite nice to step away from the Christmas stamps after the Christmas crafting fest & create something a little more spring-like. I've used 3 stamps for this one which is based on a 5 x 7 cream card blank. I've taken a piece of flat cream card & used FRS627 "Wood Panel" from Francoise Read with Versafine Vintage Sepia for the background of the design. I've then stamped JGS480 "Bubble Bloom- Lilly" from Jane Gill over the top with Onyx Black. I've stamped again on papers from the Perfect Prints range  & used these to paper piece the petals & leaves. Then came the fun part! I filled in the "bubbles" with Card Candi, Liquid Pearls & Stickles. To finish, the sentiment comes from JGS483 "Butterflies" & I've added some brown & white dotty organza ribbon. 

All materials available from;-

Your local Exmouth stockist is:-
Liberty Craft
33 Exeter Road
Exmouth EX8 1PT
01395 273238
libertycraft33@yahoo.co.uk


Saturday, 17 December 2016

Non Traditional Christmas


 We come to our last Crafty Cardmakers challenge for the year & this time they are asking us for a non traditional Christmas card. So what does that mean to you? I've gone for a different card blank & unusual colours for Christmas for our cute little elf. The stamp I've used is FRS338 "Little Elf" by Francoise Read which I've stamped with black ink onto cream card & coloured with Sakura Bruynzeel coloured pencils. The card blank itself is a DL measurement but stands upright as you can see in the photo below. The card has been made with Hairy Manilla craft card & I've used a mid blue card for layering. The sentiment comes from the stamp set but I've tinkered with it a little by masking to make it fit the punched label (blue punch). I've also pricked some stitching all around the edges of the card blank with a pricking tool & then added some Card Candi to finish. 

All materials are available from :-
Your local Exmouth stockist is:-
Liberty Craft
33 Exeter Road
Exmouth EX8 1PT
01395 273238
libertycraft33@yahoo.co.uk

Why not pop over to see what the ladies at Crafty Cardmakers have come up with.

Monday, 12 December 2016

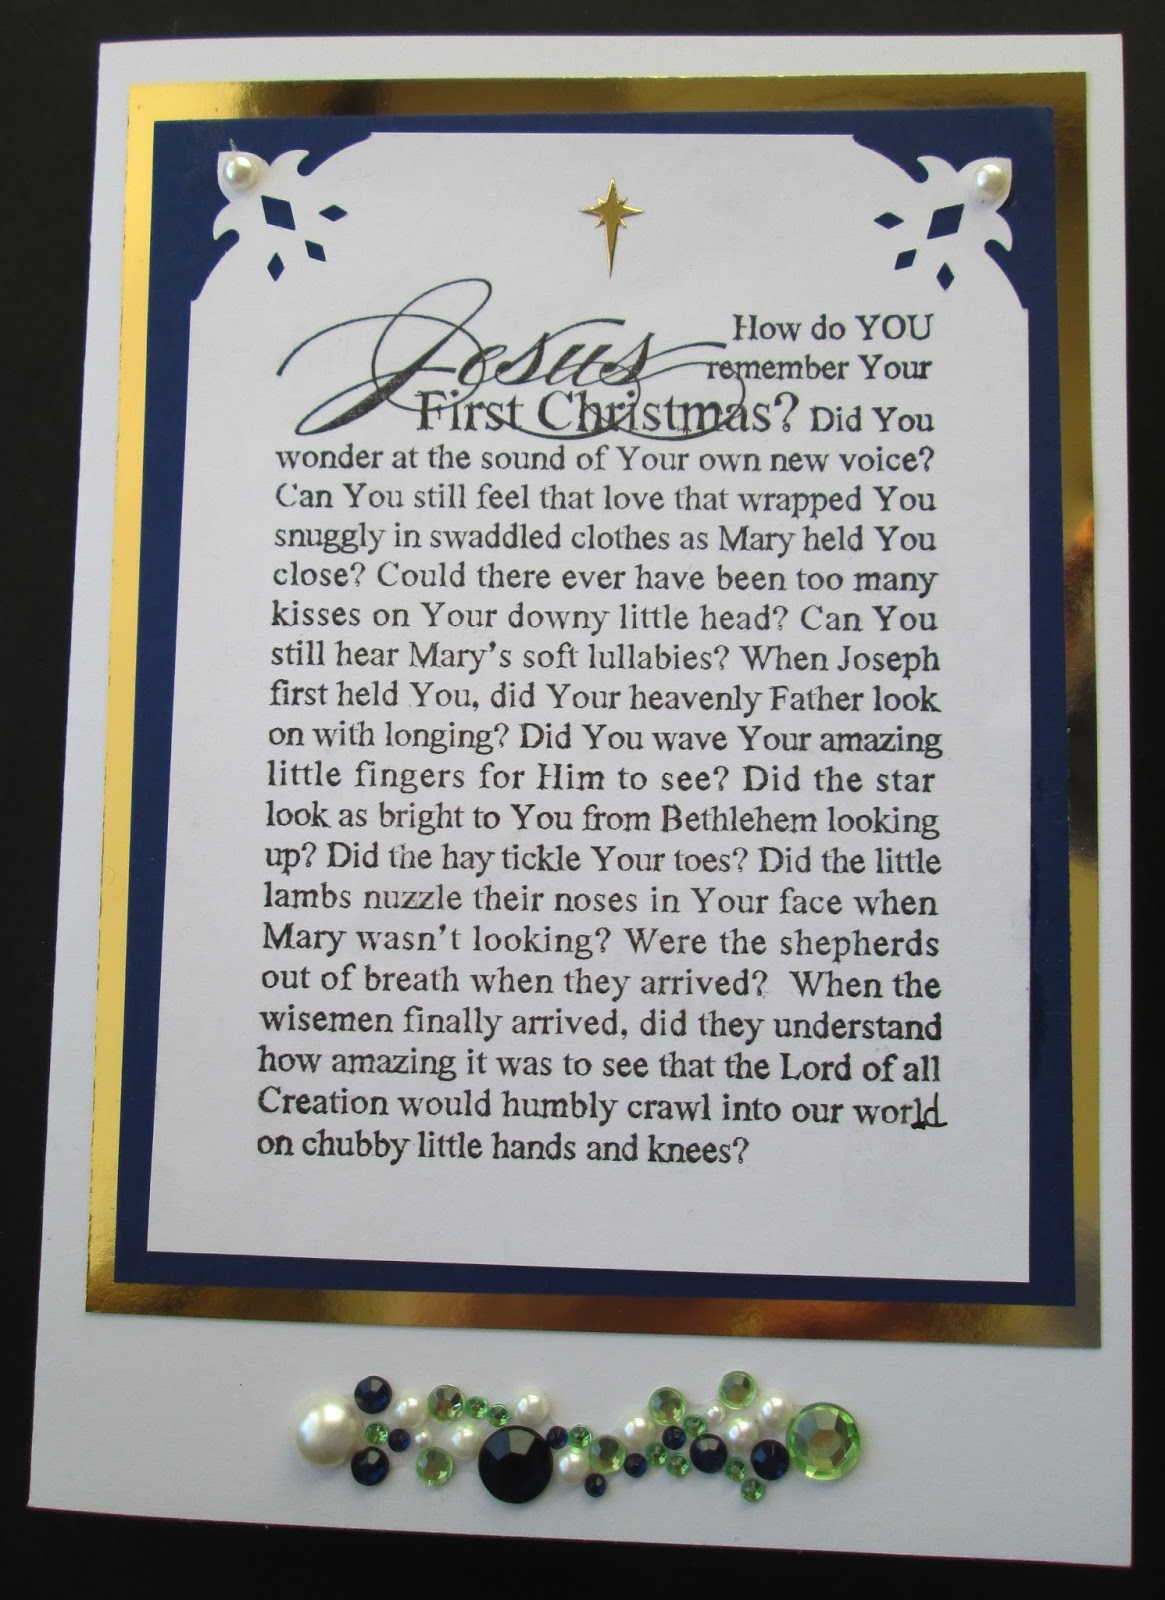
Jesus is the Reason for the Season!!

I recently got out some of my older stamps from Woodware, Stampendous & Inkadinkadoo to create some cards for my friends at my Alpha group. It's lovely to re visit some stamps which you haven't used for a while & get creative with them all over again. Hope you enjoy them too.


Monday, 5 December 2016

Sketch challenge 57

 
All materials used available from:-
Your local Exmouth stockist is:-
Liberty Craft
33 Exeter Road
Exmouth EX8 1PT
01395 273238
libertycraft33@yahoo.co.uk
Here we are at last sketch challenge of 2016 & one more Christmas design. The stamp I've chosen is JGS110 "Music Notes" by Jane Gill which I have embossed onto a piece of bronze pearl card using Stampendous Detail Gold powder. The background to the cream A5 card blank comes from Craftwork Cards paper pad "Christmas Cheer" & I've layered the paper onto the bronze pearl card. The strip across the centre comes from a piece of Natural Burlap Trim & I've added some punched foliage which has been created with the yellow holly punch & the blue fern punch. I punched some cork berries to add to the rustic look of this design & to finish I added some strips of gold "Nailheads" & some gold "Metals" both from Mark Richards.The peel off message is from the "Francoise" Collection. 

Here's a closer look at the foliage    


The original sketch

Thursday, 1 December 2016

Stix2 calendar 2016- December

So we come to the last Stix2 calendar page for 2016 - where did the year go!? For this page I've taken a piece of white pearl card embossed the Jumbo Stampendous Snowflake using silver powder & sponged with some pearly Brilliance inks.  I've made the centres of the snowflakes by stamping into hot glue  & then dusting with Dreamweaver Metallic FX powders.


Tuesday, 29 November 2016

Christmas Tags


It's nice to make your own tags for Christmas gifts sometimes especially for the special people in your life.  I've designed a selection using Woodware stamps but in keeping with the theme for last week , quick Christmas cards, they could just as easily be mounted onto a card blank for a speedy card. Here's what I came up with.  


 All the tags I've used I have made myself & they measure approx 6" x 3.5" with the bottom corners rounded with a corner rounder punch. For the above design I've  sponged some red & green ink onto the tag & the stamp I've used is FRS029 Holly & Ivy Tag. I've added some punched holly leaves using the yellow holly punch & paper from perfect Prints pad "Dark Spots". The "ivy" leaves at the bottom come from the peach maple punch. To finish add some Card Candi & tartan ribbon.


 Here we have a craft card tag & the stamp set is FRS025 " Snow Post". I stamped the main image onto white card & coloured with pencils. I cut this out & mounted into the image which I had stamped onto the tag. To finish I  added some strips from Perfect Prints pad "Tis the Season" & some green rik rak braid.


Lastly I took a plain black tag & stamped the sentiment  from the stamp set JGS457 Hand drawn Greetings using Brilliance Moonlight White inkpad. I highlighted the letters using a white gel pen & the stars come from FRS345 "Seeing Stars".To add a little sparkle I've  added some Mark Richards s/a Crystal Stars & white spotty organza ribbon for the tie.


All products available from:-
Your local Exmouth stockist is:-
Liberty Craft
33 Exeter Road
Exmouth EX8 1PT
01395 273238
libertycraft33@yahoo.co.uk

Saturday, 26 November 2016

The Canvas of Curiosities


Here's something I've had buzzing around in my mind for quite some time now if only I could find some "me" time. Sound familiar? At last I got to rummage in the darkest corners of my craft room (& jewellery box) & let my imagination run riot. As you can see, minimalist it ain't! Planned  & carefully executed....nope!! But isn't that what "mixed media" is all about?  It's about gathering around your crafting cauldron & seeing what your crazed (in my case!) mind will produce. Sometimes it goes wrong & after much chest beating it goes in the bin but in this case.. well I'm quite proud of my result. May I present my "Canvas of Curiosities" !


 OK so I started by taking a A4 box canvas which had been lurking at the back of one of my cupboards for a while. Using a stencil & Dreamweaver white embossing paste I pasted  the textured flourishes in the corners then when dry I painted the whole thing with black gesso. So I could have used black paste after I'd applied gesso but guess what? Only had glossy not matt. So next came the fun bits. I took some Cosmic Shimmer Metallic Gilding Polish to added some gorgeous blue sheen to the canvas & pasted bits. I also sprayed with Tattered Angels Glimmer mists in Antique Brass & Pink Ice.


 Now it was time to go mad with the glue gun & use all those jewellery pieces  which you know you'll never wear again but which you're loath to put in the bin. The heart you see in the above pic I made with my Melt Pot when I first had it (had to have one, ask me how many times I've used it!!) . I used a silicone mould UTEE & embossing powders but to age it a bit I've given it a coat of metallic acrylic paint & the gilding polish. You can also see some skeleton leaves (used to love those!) 


So the keys to life on the tree of life? A bit cryptic perhaps. You never know what you're going to find when you have a rummage do you? I unearthed the little tree which I found in a pound shop intending to enamel it in said Melt Pot but I'm glad I didn't now. Now you may notice the "trails" of hot glue left from my glue which I didn't notice until I'd done my photos (muttered curses!) however the more I looked I kind of liked the cobwebby effect which seemed in keeping with the general look I'm going for so I decided to leave them. 

 At one side I added some old paint brushes with some chains, shells old earrings.

 More jewels, buttons & charms.


 Lastly I went over the whole thing with the gilding polish & sprays & left over night to dry. 


Here it is on the wall & as you can see I've allowed the chunky chain to trail off the canvas a bit. I'm really pleased with the end product but the only trouble is... I can feel another one coming on!! Now where did I put all those other treasures??